Help:HPCC Access
HPCC Access
Once you have an account you can access the CSDMS HPCC with any secure-shell (SSH) application (primarily ssh, scp, sftp) from workstations located in the CU Internet domain (*.colorado.edu) or from workstations connected to the colorado.edu domain through a virtual private network (VPN) connection. A VPN account will automatically be created for users outside the colorado.edu domain.
You will need the following software to establish a connection to the colorado.edu domain and to login to the HPCC:
- VPN: Download VPN software if you do not have installed it already on your machine. Choose your operating platform and simply follow the installation procedure. You need your IdentiKey username and password (both provided to you when you applied for a HPCC account).
For windows:
- SSH: Download for example 'PuTTY to use SSH Download PuTTY if you have not installed some SSH software it yet.
For Mac:
- Use terminal
Then:
- Start a VPN connection to the University of Colorado (CU)
- Open a SSH window and type from the command prompt: (where <username> is your own username)
> ssh <username>@beach.colorado.edu
- Provide your password when asked and your connected to the HPCC!
SSH Tunneling X Windows
Displaying of the graphical desktop of the HPCC master-control node to your personal workstation is possible through SSH Tunneling X Windows software. This might require prior installation and configuration of software on your workstation. See information below on how to operate the graphical desktop for Mac and for Windows operating systems.
SSH Tunneling X Windows for Mac OSX
You will need X11 to tunnel X Windows to a Mac. Fortunately, Mac OSX comes with X11. If you're using an older version of OSX, download X11 from the apple site.
Open X11, select Applications and then Terminal.
In the terminal type:
> ssh -Y beach.colorado.edu -l <username>Type <password> and that's it. Now you can test the Tunneling by for example typing <matlab>.
SSH Tunneling X Windows for Windows
Step 1)
Depending on what you have installed previously on windows, you most likely need to install 2 small programs to tunnel X Windows for Windows:
- Xming (use the Public Domain Releases -> Xming release),
- PuTTY installer (make sure to install the installer)
Step 2)
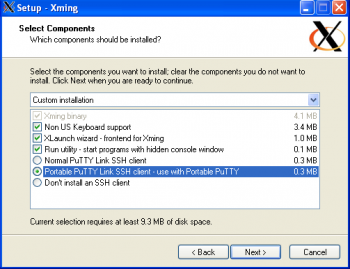
- Install Xming and make sure that you choose the "Portable PuTTY Link SSH client - use with Portable PuTTY" option in the "Select Components".
- Install PuTTY (no extra settings)
Step 3)
- Start XLaunch after you have opened a VPN connection if you are working outside the *.colorado.edu domain (icon on desktop or located in the "All Programs" folder)
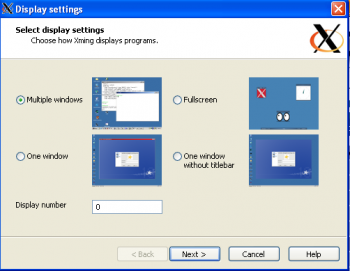
- Choose e.g. "Multiple windows" in display settings
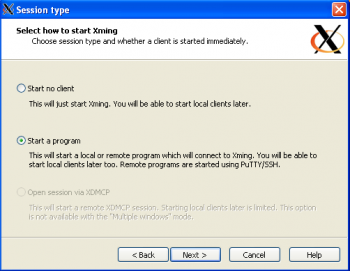
- Choose "Start a program" in session type
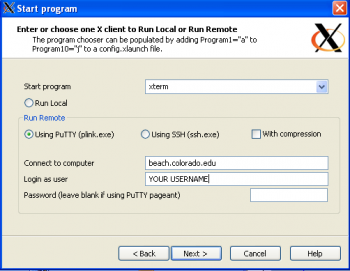
- Choose "Using PuTTY" in Start program
- No need to change anything to "Additional parameters", just leave settings like they are
- And click on "finish" in Finish configuration to start a SSH Tunneling X Windows
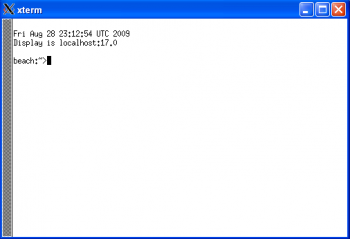
XLaunch will ask you for a beach.colorado.edu password. Once entered it will start up a xterm window.
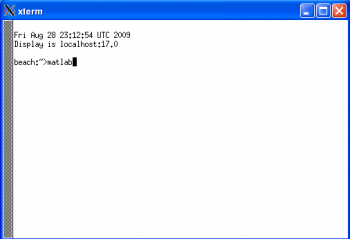
Now you can start receiving graphical interfaces (GUI) from programs that are available on the CSDMS HPCC. Through Xming the graphics that are created on the HPCC will be display on your window box. You can try for example to start matlab, just type "matlab" after the xterm prompt and Xming will display matlab, running on beach, on your machine.
Don't close the xterm window while you're working with Xming or you might lose the Tunneling session you just started.
